Learn how to self-host Bitwarden on a Raspberry Pi to securely manage your passwords. Follow our step-by-step guide for optimal protection and convenience.
Introduction to Self-Hosting Bitwarden on Raspberry Pi
In an era where digital security is paramount, password management has become an essential aspect of our online lives. One effective solution that has gained popularity is Bitwarden—a versatile password manager that offers users the chance to store, manage, and synchronize their passwords across devices. However, many users may prefer to have complete control over their data by self-hosting their password manager. This article will guide you through the process of self-hosting Bitwarden on a Raspberry Pi, combining cost-effectiveness with robust security.
What is Bitwarden?
Bitwarden is an open-source password management solution that allows users to securely store, share, and manage their passwords and sensitive information. With features such as password generation, secure sharing, and cross-platform accessibility, Bitwarden is designed to simplify password management while ensuring top-notch security through end-to-end encryption. The open-source nature means that anyone can audit the code, contributing to a higher level of trust in the application's security.
Benefits of Self-Hosting
Self-hosting Bitwarden offers several benefits that cater to security-conscious users:
- Data Control: By self-hosting, you maintain complete control over your passwords and sensitive information, reducing the risk of data breaches that can occur with third-party services.
- Customization: Self-hosting allows you to modify the Bitwarden server to fit your specific needs and preferences.
- Cost-Effective: Utilizing a Raspberry Pi eliminates the need for expensive server infrastructure while providing a functional platform for your password manager.
- Enhanced Security: You can implement additional security measures tailored to your specific requirements, such as custom firewalls or VPNs.
Why Choose Raspberry Pi?
The Raspberry Pi is an ideal choice for self-hosting applications like Bitwarden for several reasons:
- Affordability: The Raspberry Pi is a low-cost computer, making it accessible for individuals and small businesses.
- Low Power Consumption: It consumes minimal power compared to traditional servers, allowing for continuous operation without significant electricity costs.
- Community Support: The Raspberry Pi community is vast, with extensive documentation and forums available for troubleshooting and support.
- Compact Size: Its small form factor makes it easy to integrate into any workspace without taking up much room.
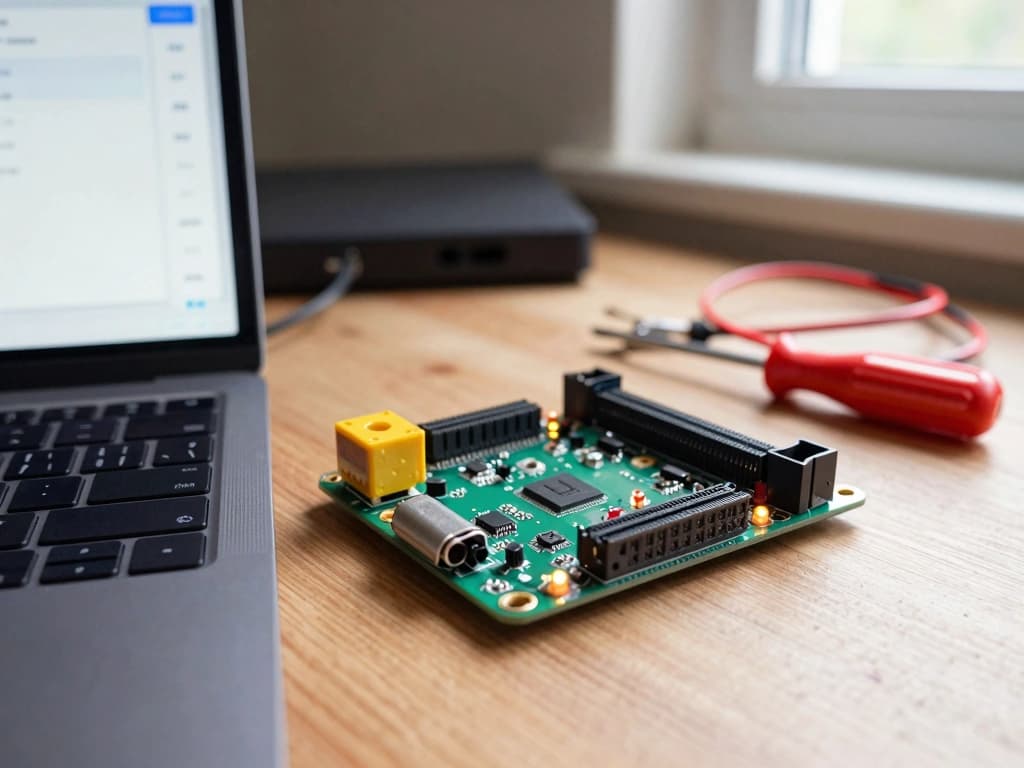
Preparing Your Raspberry Pi for Bitwarden
Required Hardware and Software
Before proceeding, ensure you have the following hardware and software:
- Hardware:Raspberry Pi 3 or later (Raspberry Pi 4 is recommended for better performance)
- MicroSD card (at least 16GB, Class 10 recommended)
- Power supply for Raspberry Pi
- Ethernet cable (for stable network connection) or Wi-Fi (if necessary)
Software:
- Raspberry Pi OS (formerly Raspbian) installed on the MicroSD card
- Docker (for containerization)
- Docker Compose (for managing multi-container applications)
Installing the Operating System
To install the Raspberry Pi OS, follow these steps:
- Download the Raspberry Pi Imager from the official Raspberry Pi website.
- Insert the MicroSD card into your computer and use the imager to flash the Raspberry Pi OS onto the card.
- Once the flashing is complete, insert the MicroSD card into your Raspberry Pi, connect it to the power supply, and boot it up.
- Follow the on-screen instructions to complete the initial setup, including configuring your username and password.
Network Configuration for Accessibility
For your Bitwarden instance to be accessible from other devices, you need to configure your network settings:
- Connect your Raspberry Pi to your network using an Ethernet cable for better stability.
- Access the terminal and use the command
sudo raspi-configto enter the configuration menu. - Navigate to “Network Options” to set a static IP address for your Raspberry Pi, ensuring it remains constant for ease of access.
- For remote access, consider configuring port forwarding on your router, forwarding port 80 (HTTP) and port 443 (HTTPS) to your Raspberry Pi’s static IP.
Installing Bitwarden on Raspberry Pi
Setting Up Docker on Raspberry Pi
Docker allows you to run applications in isolated environments, making it perfect for self-hosting Bitwarden:
- Update your Raspberry Pi software packages by running:
- Install Docker using the command:
- Run the script with:
- Add your user to the Docker group to avoid using
sudofor every command: - Log out and log back in to apply changes.
- Verify Docker installation by running:
Downloading Bitwarden Server
Once Docker is set up, you can download the Bitwarden server:
- Create a directory for Bitwarden:
- Download the Bitwarden server repository:
- Change to the server directory:
Configuring Environment Variables
Before running Bitwarden, you need to configure environment variables. Create a file called docker-compose.yml and add the following configuration:
version: '3' services: bitwarden: image: bitwardenrs/server:latest restart: always environment: - WEBSOCKET_ENABLED=true volumes: - ./bw-data:/data ports: - "80:80" - "443:443"
Adjust the environment variables based on your preferences and security requirements. Save the file and run:
docker-compose up -d
This command will start your Bitwarden server in detached mode.
Securing Your Bitwarden Instance
Implementing SSL Certificates
To secure your Bitwarden instance with HTTPS, you need to implement SSL certificates:
- Use Let’s Encrypt for free SSL certificates. Install Certbot, which simplifies the process:
- Run Certbot to obtain a certificate:
- Follow the instructions to complete the certificate issuance.
Setting Up a Reverse Proxy
A reverse proxy can help manage SSL termination and route requests to your Bitwarden instance. Nginx is a popular choice:
- Install Nginx:
- Create a new configuration file for your Bitwarden instance:
- Add the following configuration:
- Enable the configuration:
- Test the Nginx configuration for errors:
- Restart Nginx:
Best Practices for Security Hardening
To ensure your Bitwarden instance is secure, follow these best practices:
- Regularly update your Raspberry Pi and Docker packages.
- Use strong, unique passwords for your Bitwarden account and Raspberry Pi.
- Enable two-factor authentication for your Bitwarden account.
- Limit access to your Bitwarden instance by configuring a firewall.
- Periodically back up your Bitwarden data.
Accessing and Managing Your Self-Hosted Bitwarden
Using the Bitwarden Web Vault
Once your Bitwarden server is running, you can access the web vault by navigating to https://your-domain.com. Here, you can create and manage your vault, add passwords, and utilize Bitwarden's features.
Mobile and Desktop App Integration
Bitwarden offers mobile and desktop applications that can be integrated seamlessly with your self-hosted instance:
- Download the Bitwarden app from the respective app store for mobile devices or the official website for desktop applications.
- During the setup process, choose the option to self-host and enter your server URL (e.g.,
https://your-domain.com). - Log in using your Bitwarden credentials, and you'll have access to your vault on all devices.
Regular Maintenance and Updates
To keep your Bitwarden instance secure and running smoothly, conduct regular maintenance:
- Monitor Docker containers and logs for any unusual activity.
- Check for updates to Bitwarden and Docker and apply them regularly.
- Review your SSL certificate expiration and renew it as necessary.
Self-hosting Bitwarden on a Raspberry Pi is a rewarding project that enhances your digital security while providing you with control over your sensitive data. With proper setup, security measures, and maintenance, you can create a reliable password management solution tailored to your needs.